
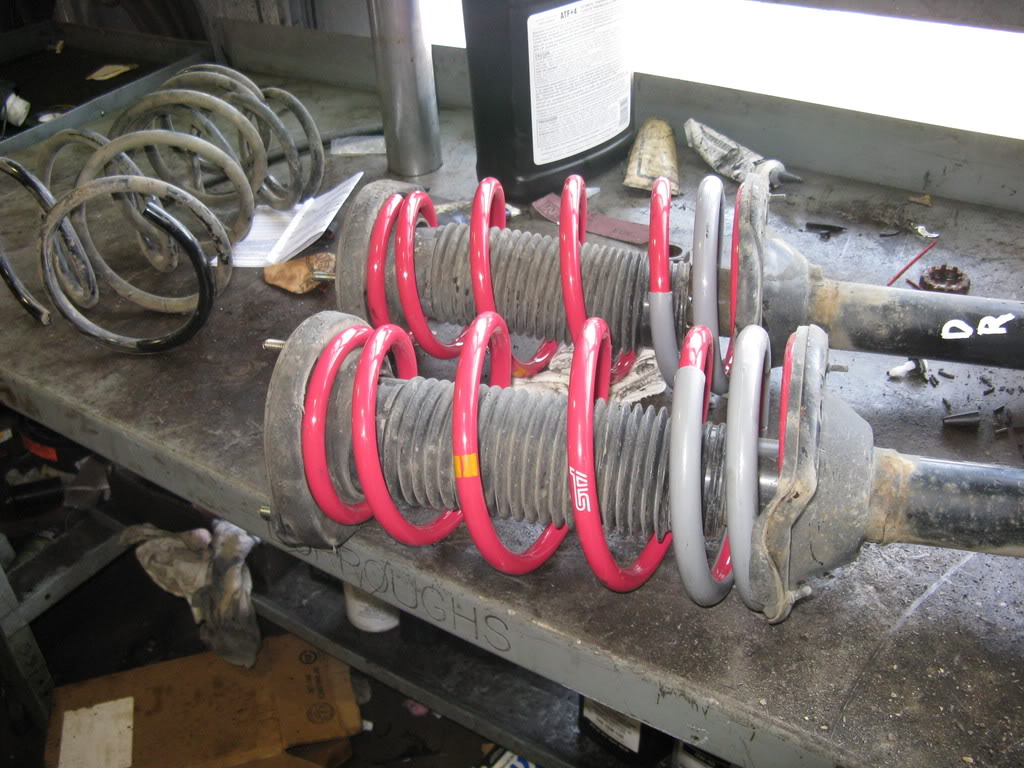
Installing Lowering Springs
Specs:
Torque specs:
top hat center nut: 41 ft/lb
top hat nuts: 14.5 ft/lb
strut to knuckle bolts (rear): 145 ft/lb
wheel lugnuts: 66 ft/lbs
You will Need
Suicide sticks. Available at Autozone, or Harbor freight.
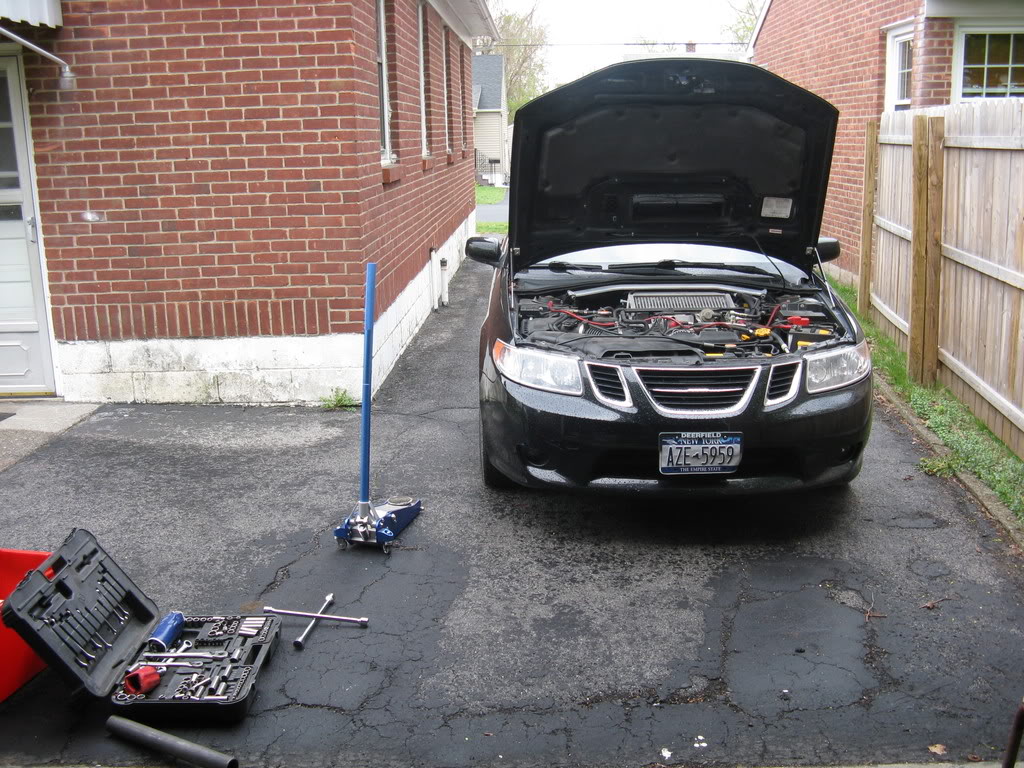
Hydraulic Jack if available, It makes the job a whole lot easier.
Socket Set up to 19MM, 19 MM open end Wrench, Hammer, Screwdriver Flathead,Vise Grips, Rubber timing belt piece or leather strip, Punch tool, White Out, Collection cup for all your nuts and bolts.
JACK STANDS. Clear Mind, and Determination.
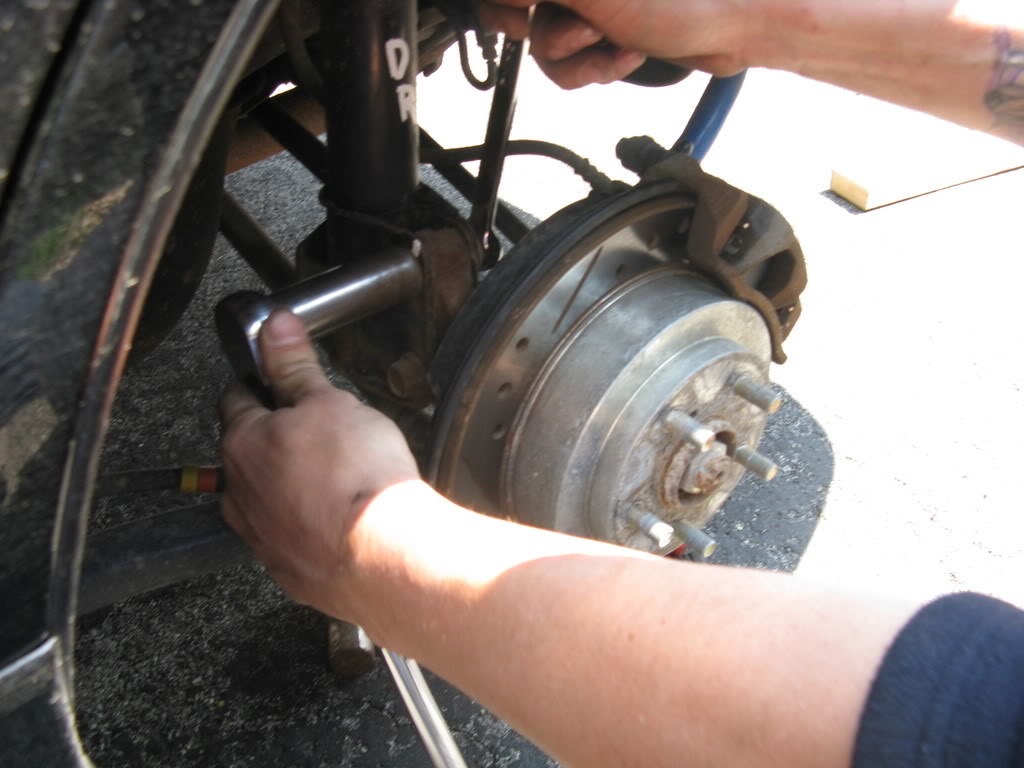
Start By Loosening your lug nuts on the front Tires.
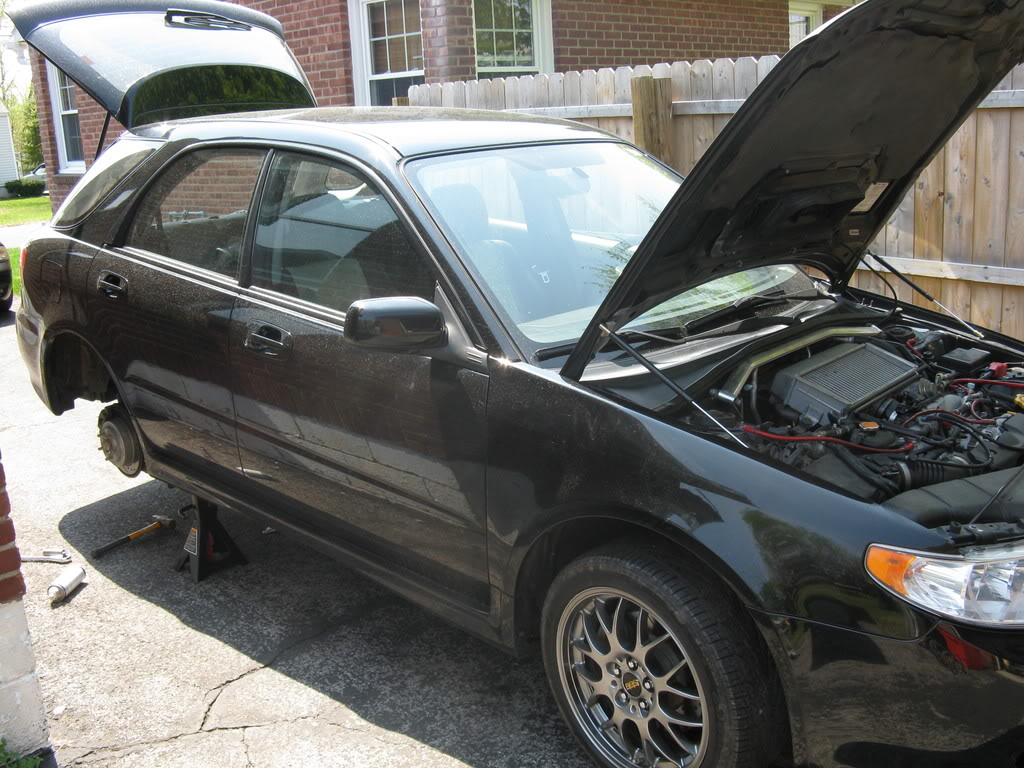
Jack up your Vehicle and place it on Jack stands.
Remove Tires and mark the top camber bolt on each side with With Out.

I Also Etched a vertical line on the knuckle
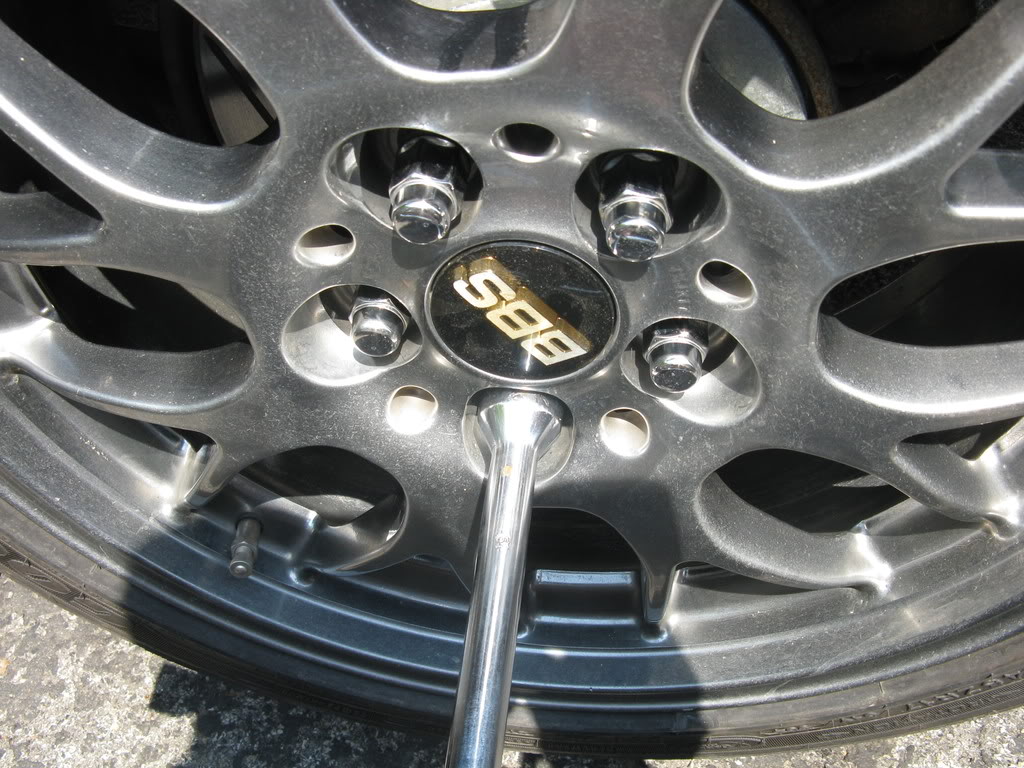
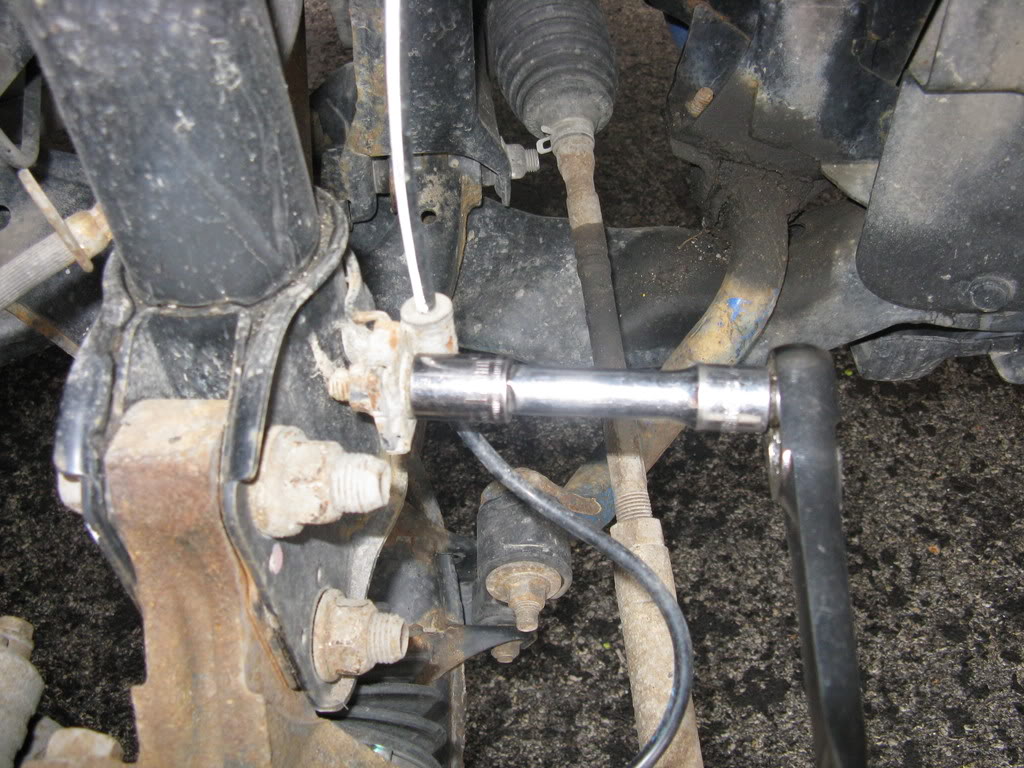
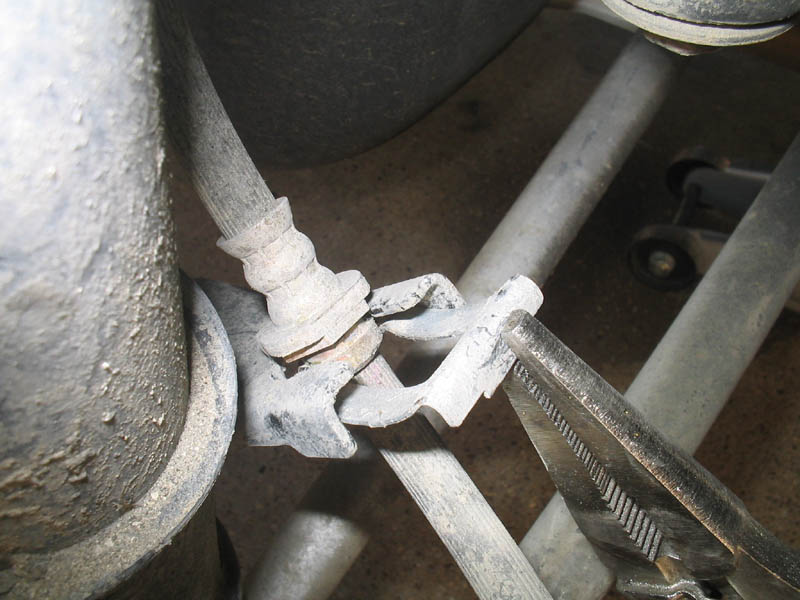
Loosen each 19mm Bolt
With out the top section or a area near a threaded rod, Then Remove the 12mm nuts on the top of the Strut.
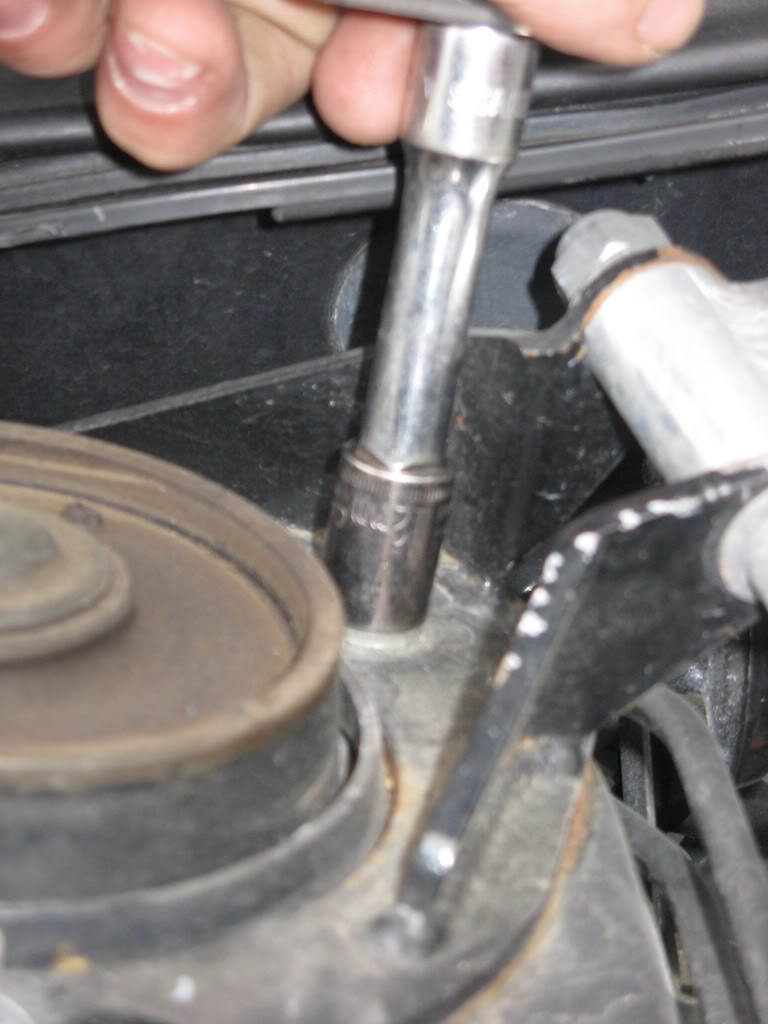
Once you take out the nuts the Spring will Sprung as much as it can.
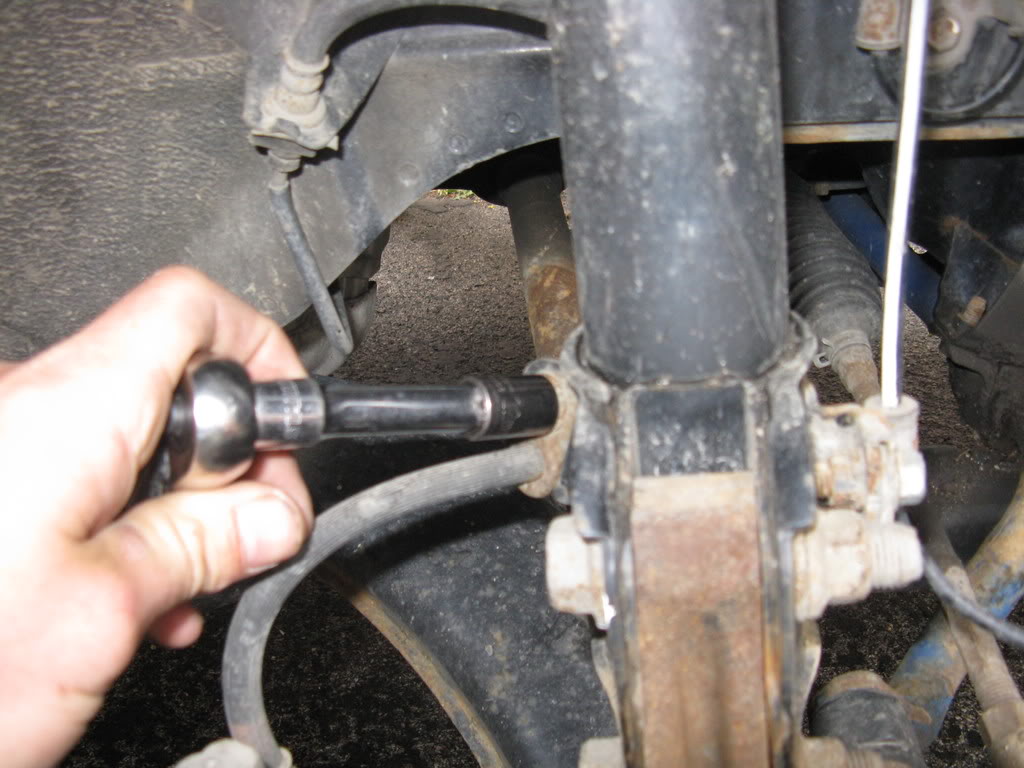
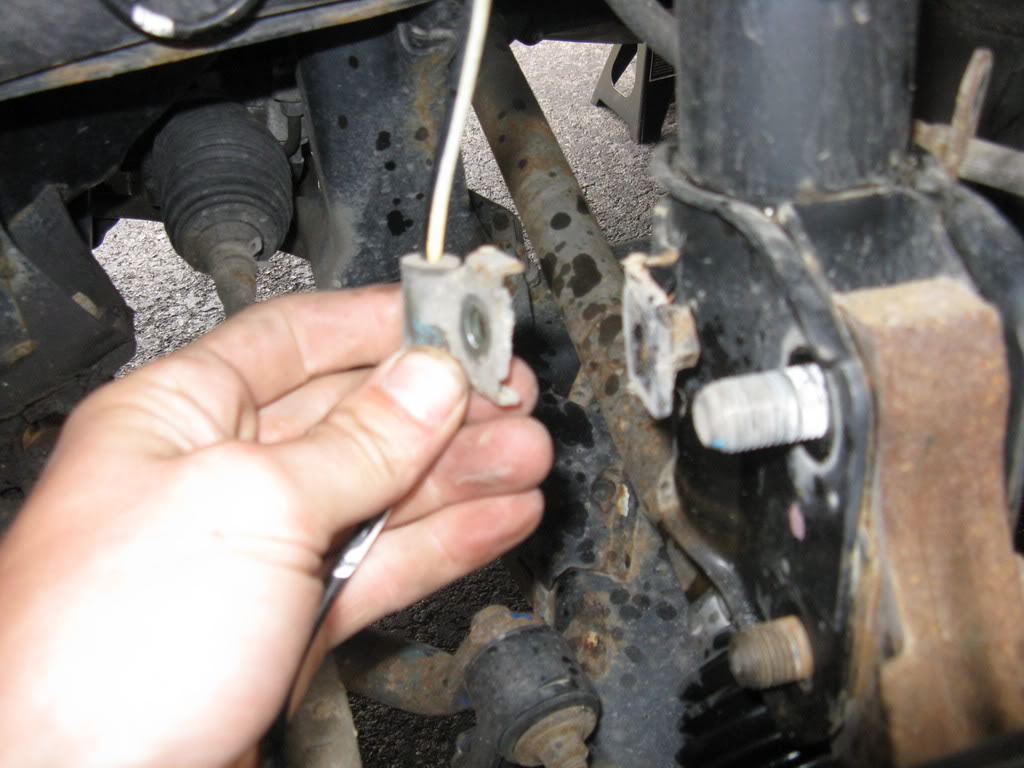
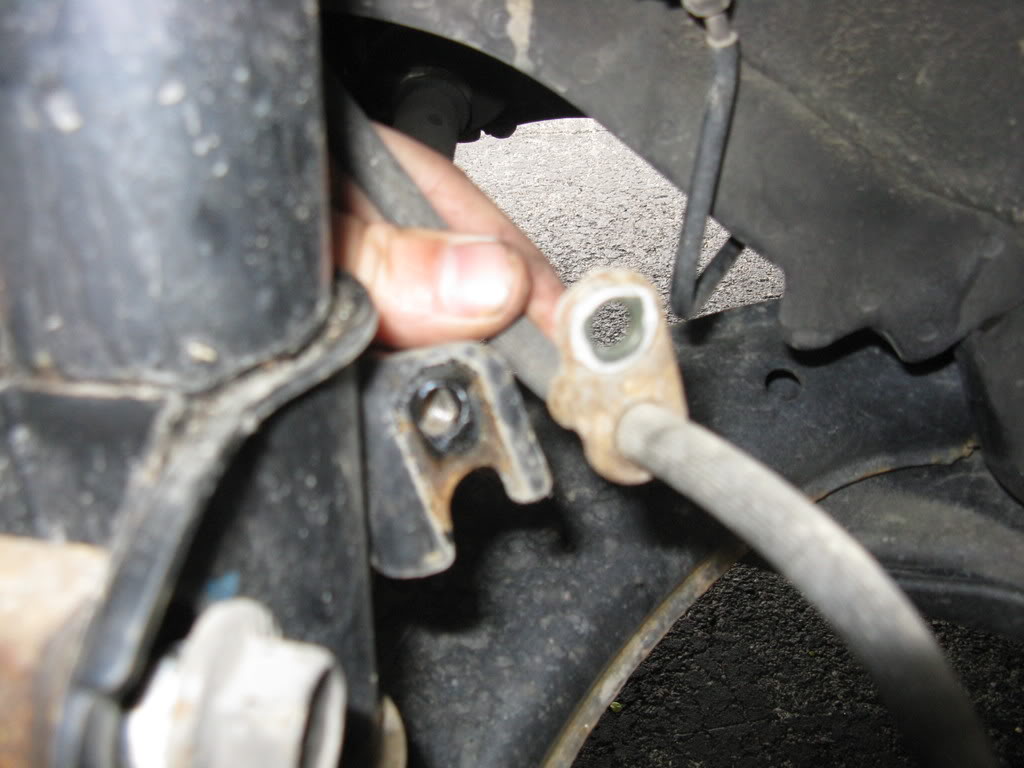
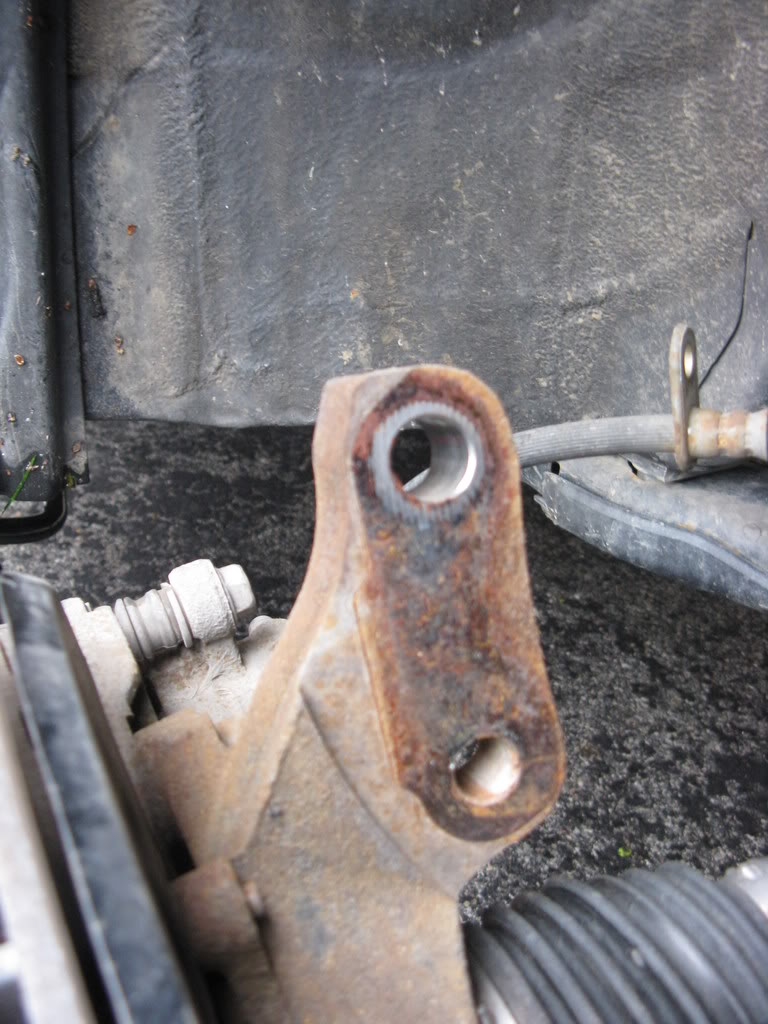
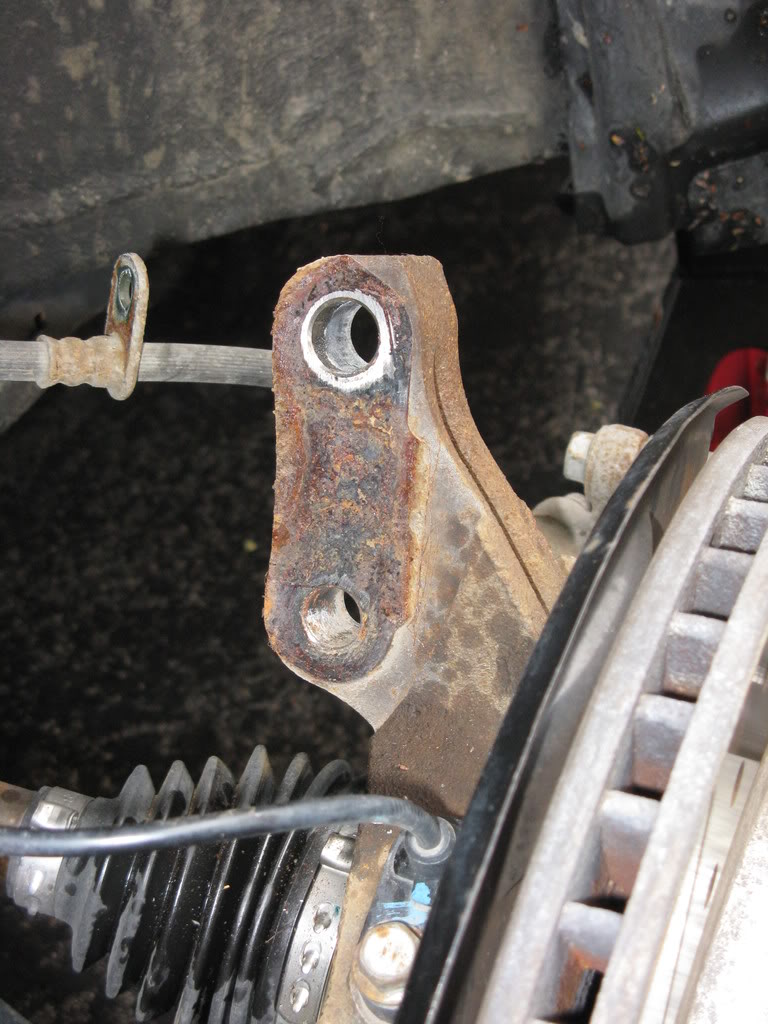
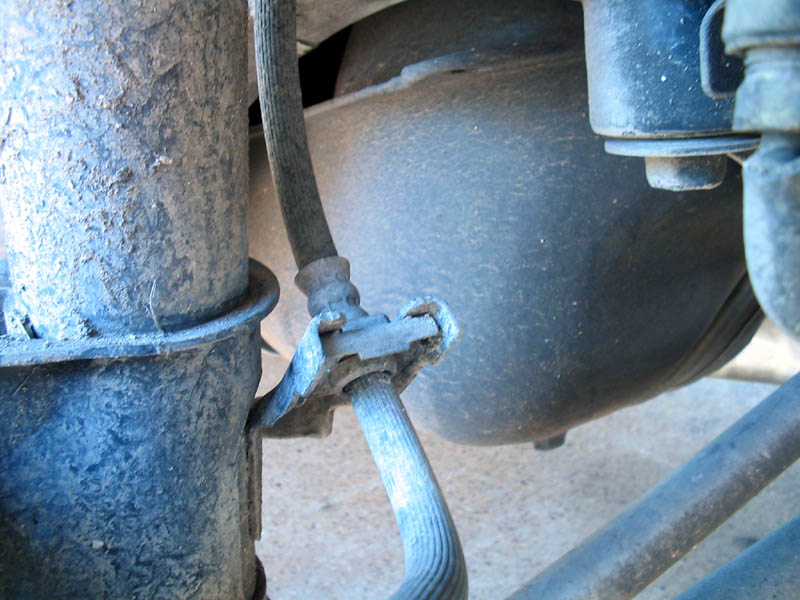
Remove both lines The ABS Wheel sensor harness & brake line harness from the strut base.
Here you can see my etched lines
Don't forget Work smart... Mark things.
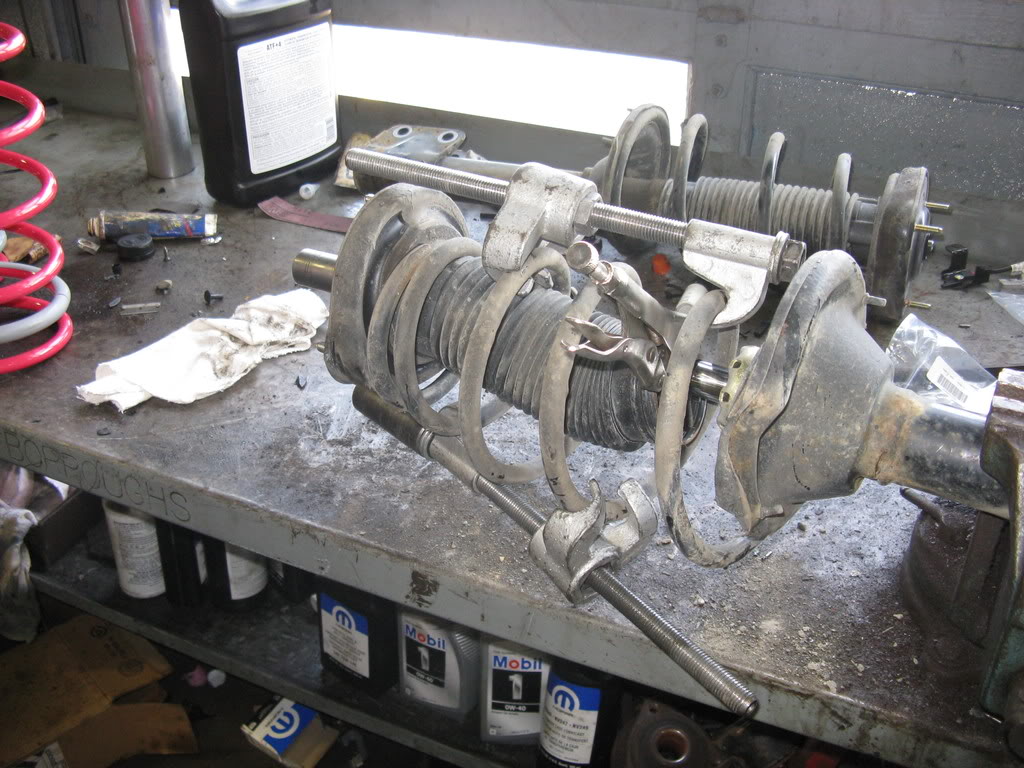
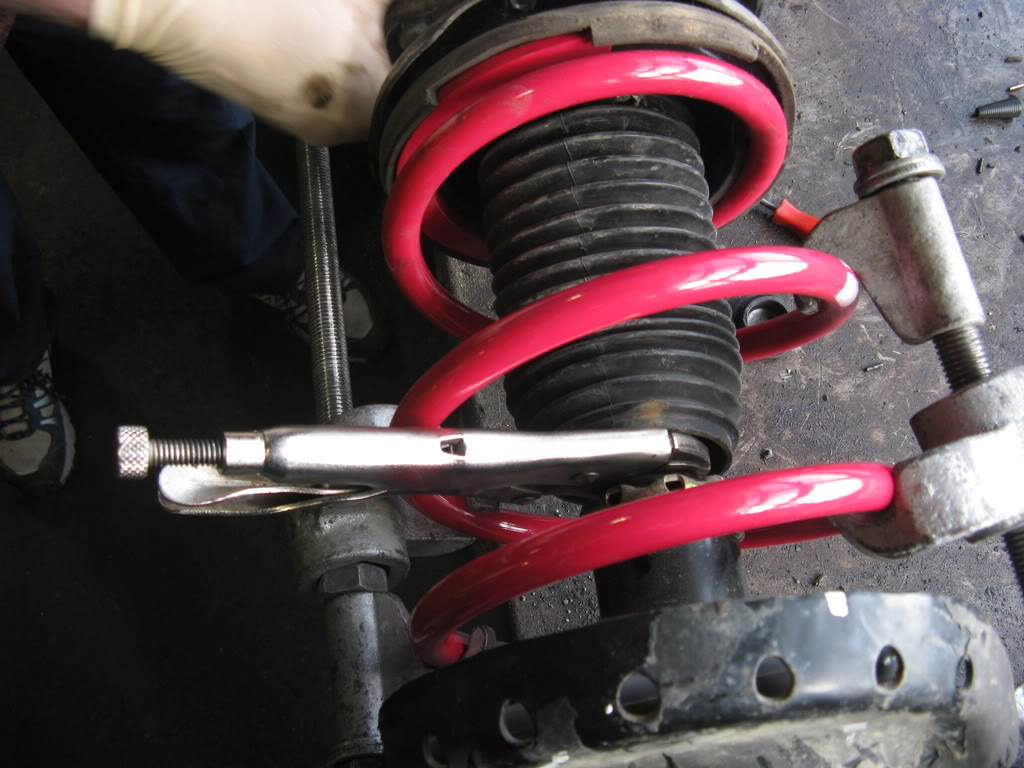
Now the fun part.
Using Suicide sticks Compress the spring and install your Vise grips with the timing belt or whatever on the shiny Rod under
the plastic shield. This is really not recommended
because IF you use TOO MUCH FORCE and damage the shaft
your strut will be damaged over time with that rod
wearing away at the inners of the strut. So if you use
this technique, BE VERY CAREFUL, JUST enough to hold the
shaft. This is the HIGHEST spot I could get, This will
already be inside and never be exposed under Compression
[like when its on the car]
with the timing belt or whatever on the shiny Rod under
the plastic shield. This is really not recommended
because IF you use TOO MUCH FORCE and damage the shaft
your strut will be damaged over time with that rod
wearing away at the inners of the strut. So if you use
this technique, BE VERY CAREFUL, JUST enough to hold the
shaft. This is the HIGHEST spot I could get, This will
already be inside and never be exposed under Compression
[like when its on the car]
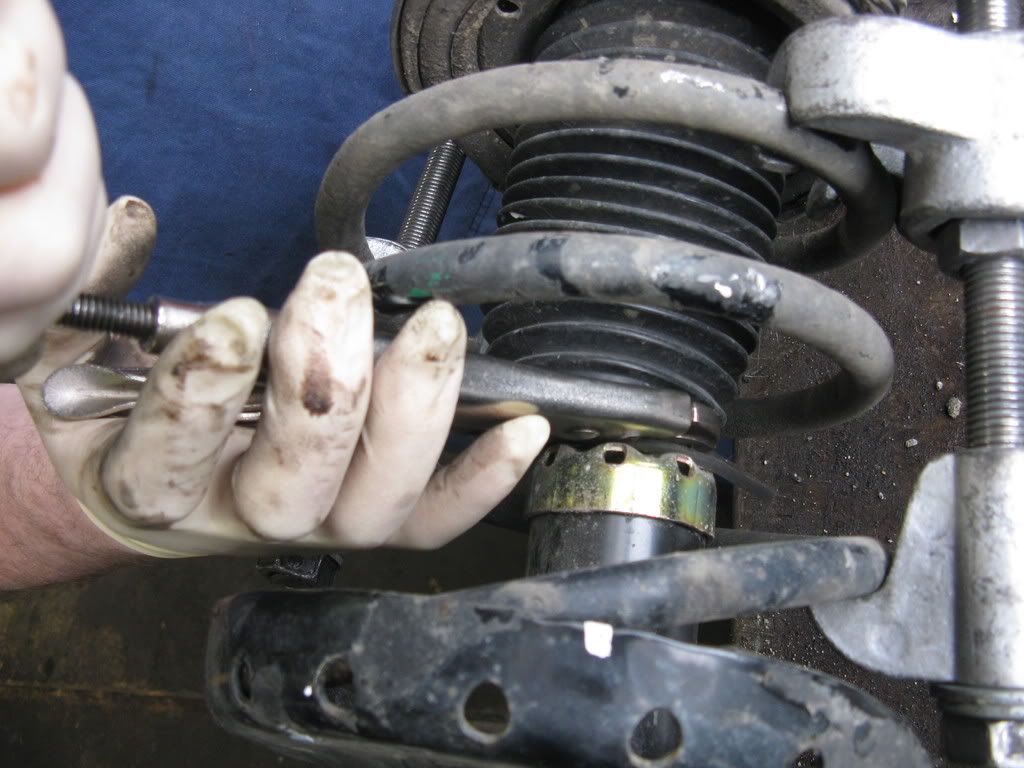
Using an impact wrench or Air tool, Or Hand tool hold the vise grips so the shaft doesn't spin and remove the 17mm Nut.
Very Carefully remove the Top hat and Internal plastic shielding. After removal of the vise grips.
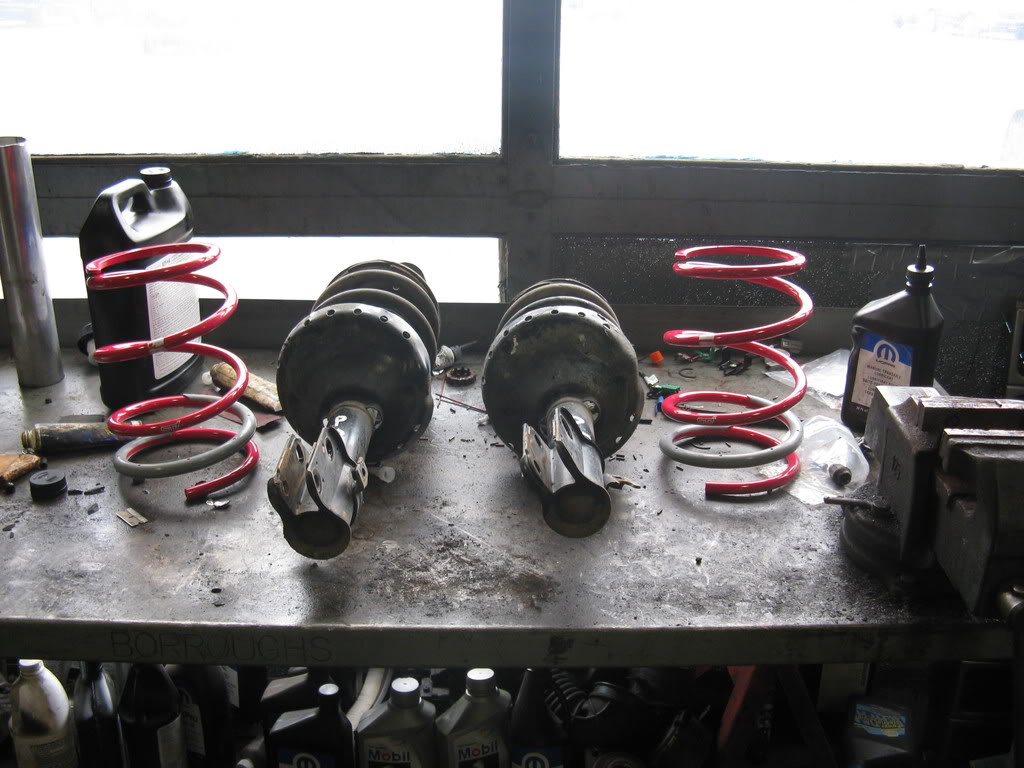
Remove the Old spring replace the it the new one. Replace the top hat line up the marks and replace the Vise grips back on the strut.
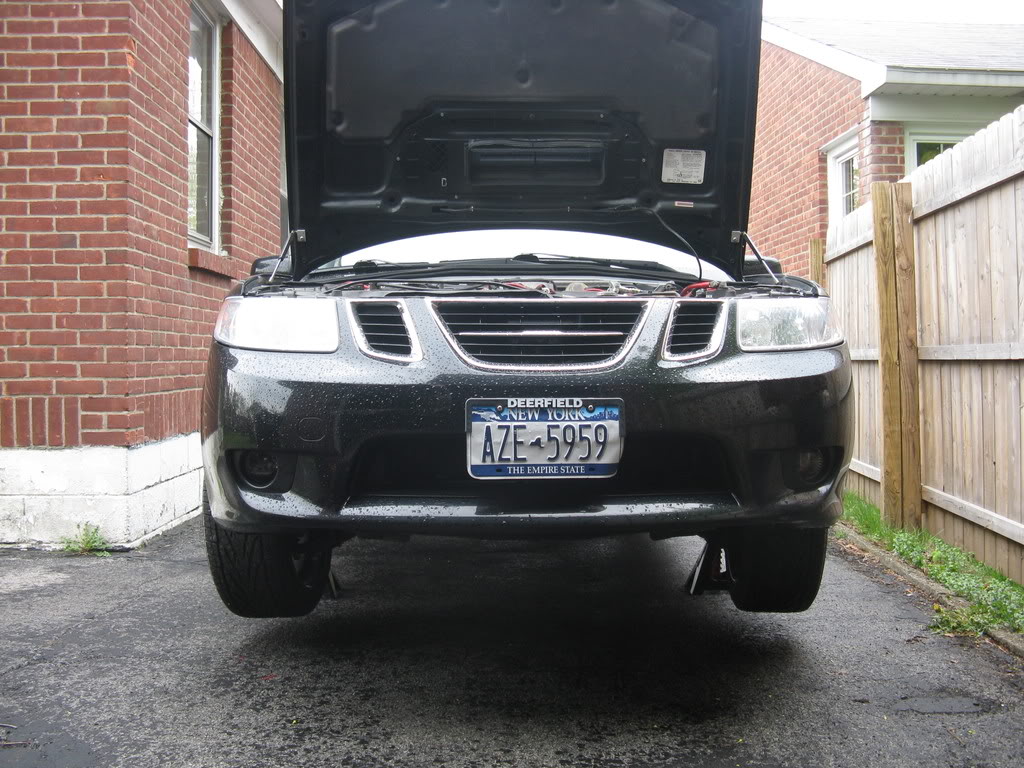
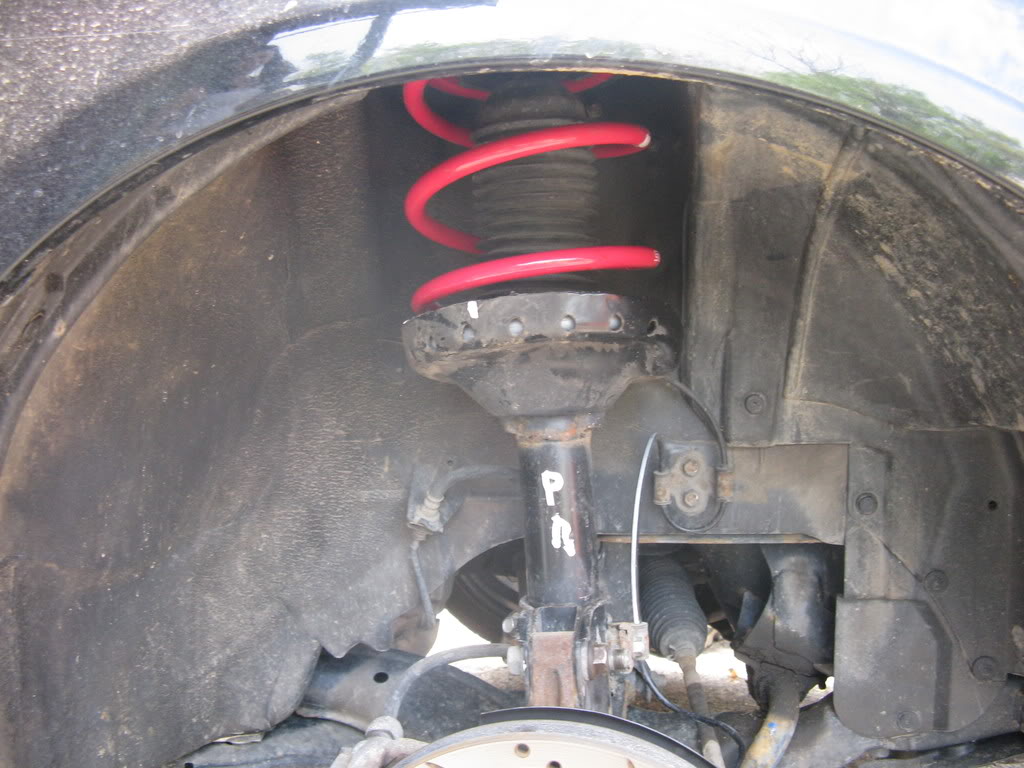
Put on the Nut and Tighten to spec. YOUR DONE.
REPLACE and Do the steps in reverse.
Now for the back.
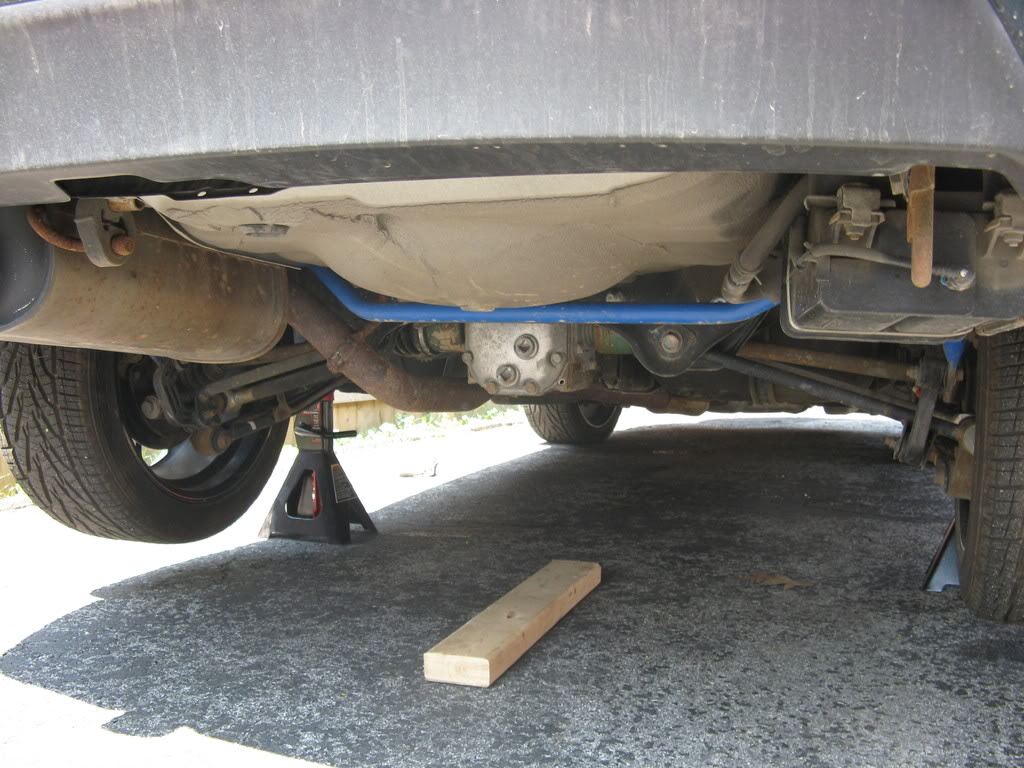
This is where the hydraulic jack helps out. Get a 2 x 4 place it on top of the jack and Raise the rear of the car with the rear differential. Its the Square box in the middle. This will allow the rear of the car enough clearance so the jack stands can be placed underneath.
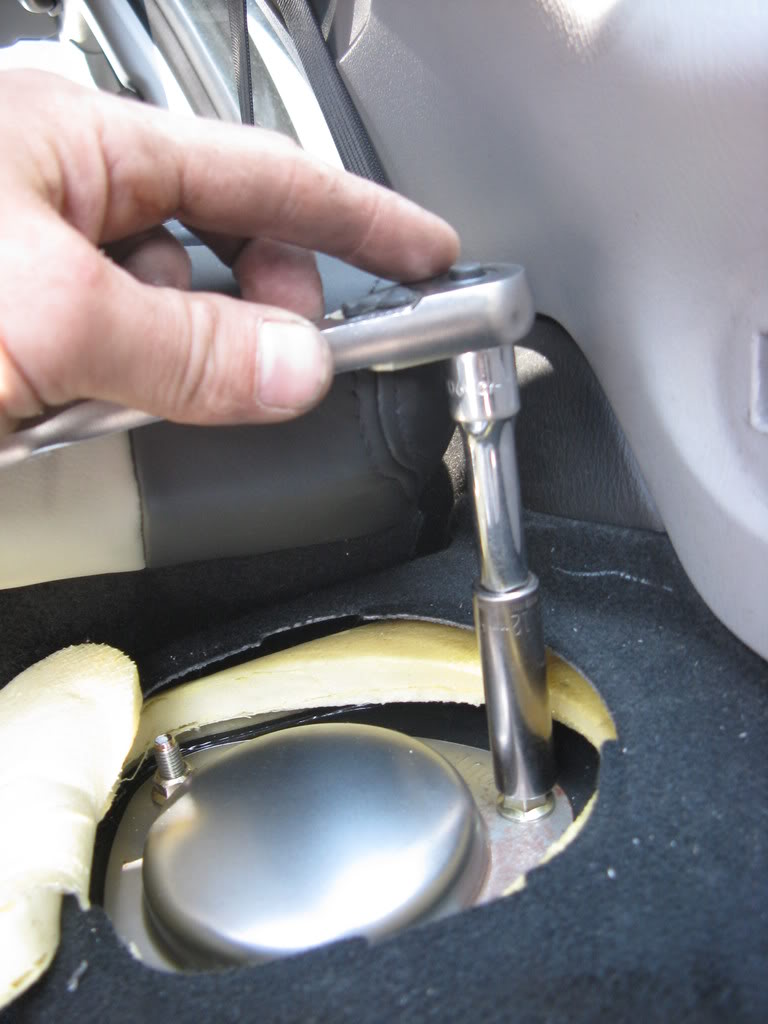
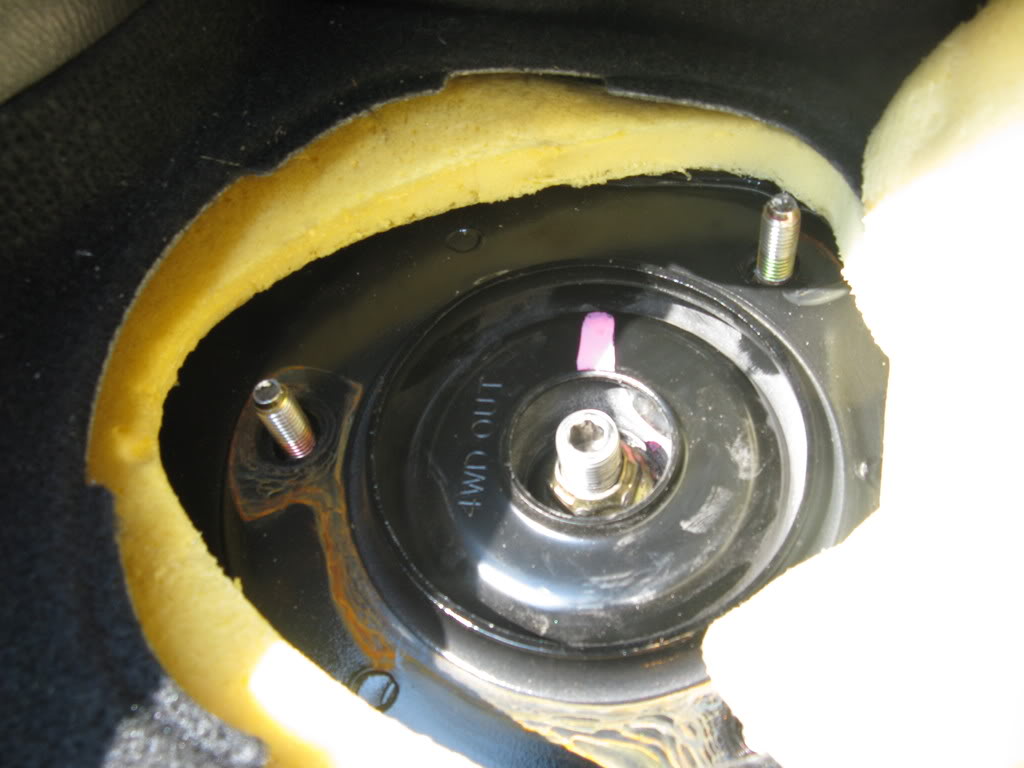
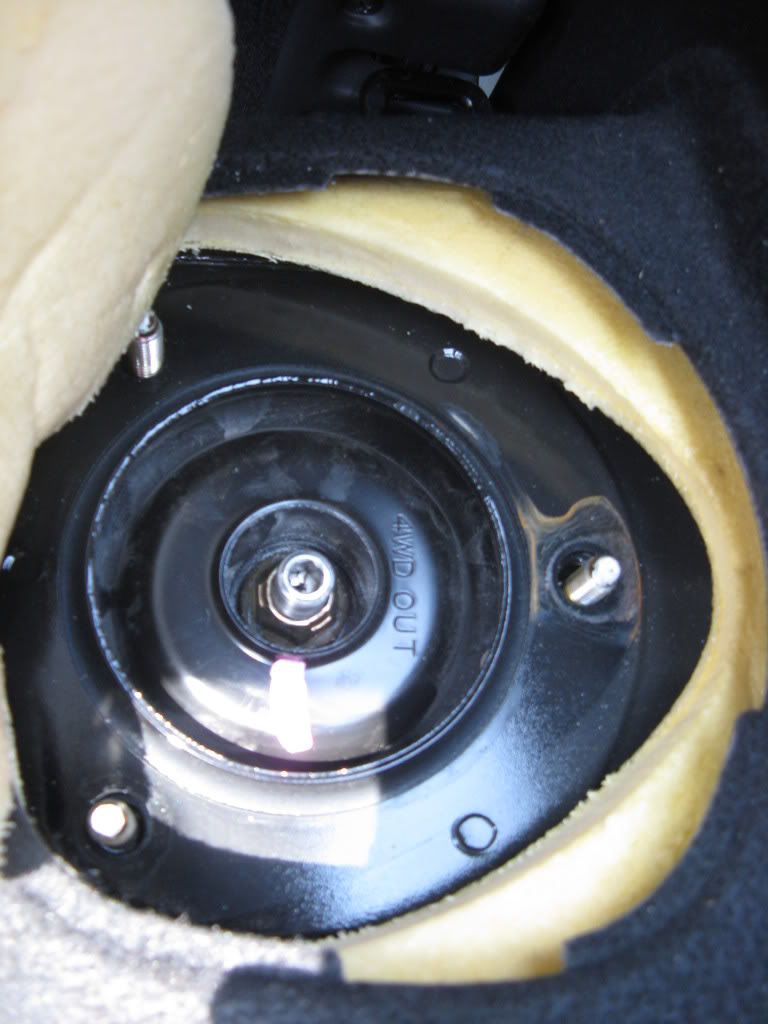
Once again remove tires , You don't have to worry about the back struts because they are marked .
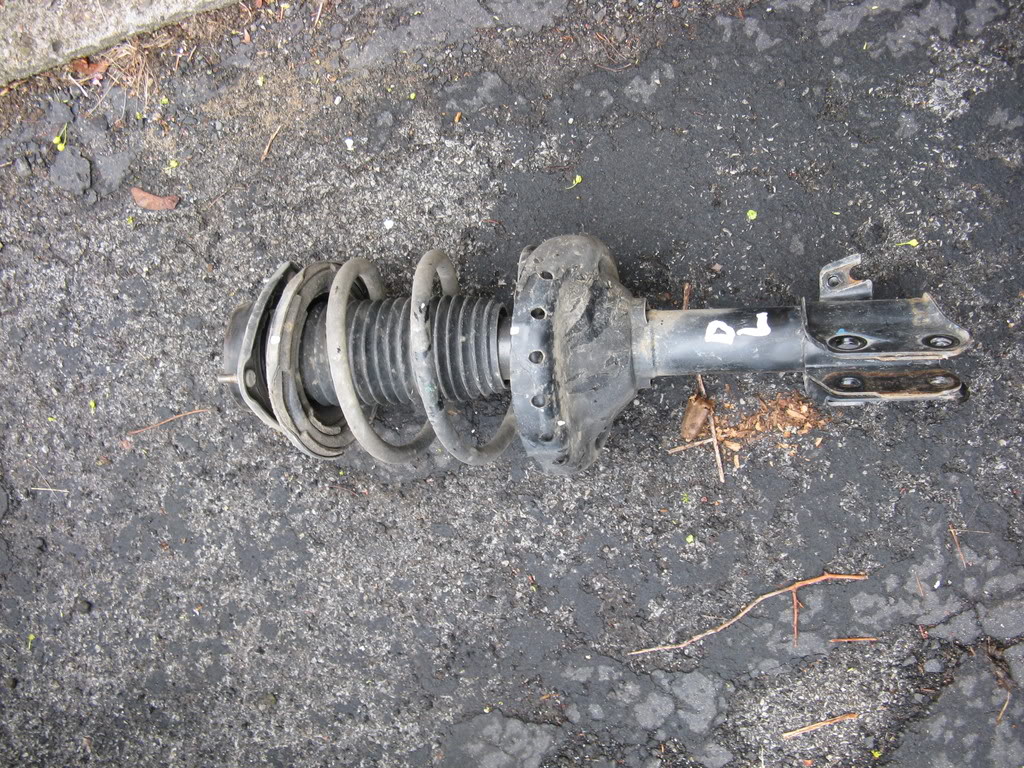
4wd OUT is pretty self explanatory. The drivers side the pink line points to the driver , and the passenger side it points to the rear of the car.
Underneath this cover 12mm Deep socket .
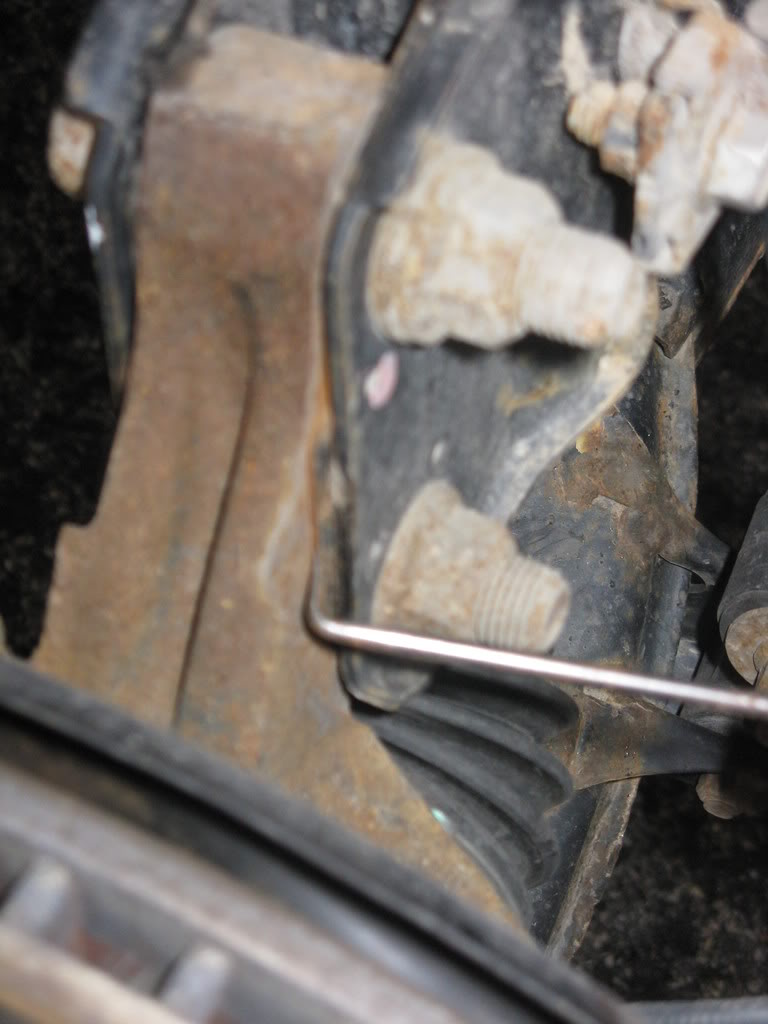
The rear brake clips need to be removed, Flat head Screwdriver and hammer.
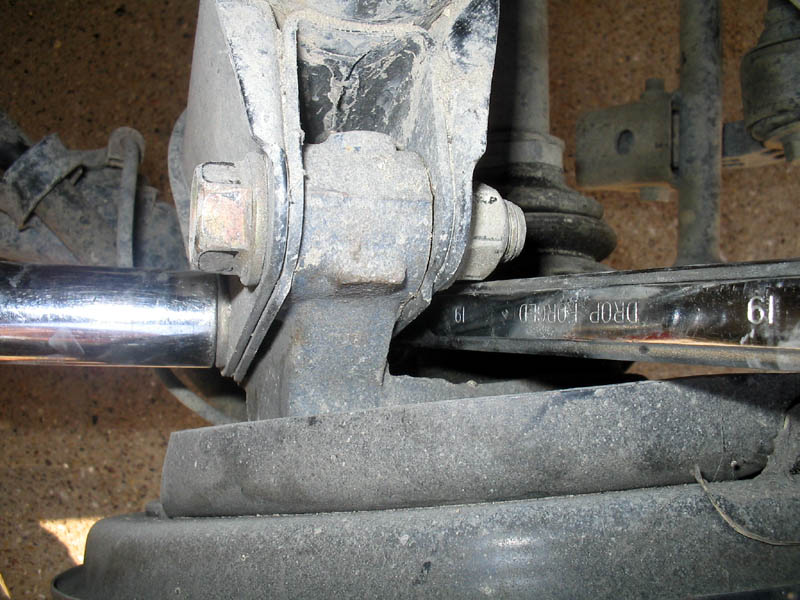
Once again remove the big bolts .
Use the same process as before
ROCK AND ROLL ON YOUR NEW SUSPENSION!!
Torque specs:
top hat center nut: 41 ft/lb
top hat nuts: 14.5 ft/lb
strut to knuckle bolts (rear): 145 ft/lb
wheel lugnuts: 66 ft/lbs
You will Need
Suicide sticks. Available at Autozone, or Harbor freight.
Hydraulic Jack if available, It makes the job a whole lot easier.
Socket Set up to 19MM, 19 MM open end Wrench, Hammer, Screwdriver Flathead,Vise Grips, Rubber timing belt piece or leather strip, Punch tool, White Out, Collection cup for all your nuts and bolts.
JACK STANDS. Clear Mind, and Determination.
Start By Loosening your lug nuts on the front Tires.
Jack up your Vehicle and place it on Jack stands.
Remove Tires and mark the top camber bolt on each side with With Out.
I Also Etched a vertical line on the knuckle
Loosen each 19mm Bolt
With out the top section or a area near a threaded rod, Then Remove the 12mm nuts on the top of the Strut.
Once you take out the nuts the Spring will Sprung as much as it can.
Remove both lines The ABS Wheel sensor harness & brake line harness from the strut base.
Here you can see my etched lines
Don't forget Work smart... Mark things.
Now the fun part.
Using Suicide sticks Compress the spring and install your Vise grips
with the timing belt or whatever on the shiny Rod under
the plastic shield. This is really not recommended
because IF you use TOO MUCH FORCE and damage the shaft
your strut will be damaged over time with that rod
wearing away at the inners of the strut. So if you use
this technique, BE VERY CAREFUL, JUST enough to hold the
shaft. This is the HIGHEST spot I could get, This will
already be inside and never be exposed under Compression
[like when its on the car]Using an impact wrench or Air tool, Or Hand tool hold the vise grips so the shaft doesn't spin and remove the 17mm Nut.
Very Carefully remove the Top hat and Internal plastic shielding. After removal of the vise grips.
Remove the Old spring replace the it the new one. Replace the top hat line up the marks and replace the Vise grips back on the strut.
Put on the Nut and Tighten to spec. YOUR DONE.
REPLACE and Do the steps in reverse.
Now for the back.
This is where the hydraulic jack helps out. Get a 2 x 4 place it on top of the jack and Raise the rear of the car with the rear differential. Its the Square box in the middle. This will allow the rear of the car enough clearance so the jack stands can be placed underneath.
Once again remove tires , You don't have to worry about the back struts because they are marked .
4wd OUT is pretty self explanatory. The drivers side the pink line points to the driver , and the passenger side it points to the rear of the car.
Underneath this cover 12mm Deep socket .
The rear brake clips need to be removed, Flat head Screwdriver and hammer.
Once again remove the big bolts .
Use the same process as before
ROCK AND ROLL ON YOUR NEW SUSPENSION!!